Recently, a friend approached me to assist with a logo for his website. His previous designer had created this friend’s logo with an outline of the text. This is what I found for adding the outline using GIMP or Photoshop.
This tutorial assumes you know the basics such as layers, text tool, paint bucket and working with selections.
Photoshop solution
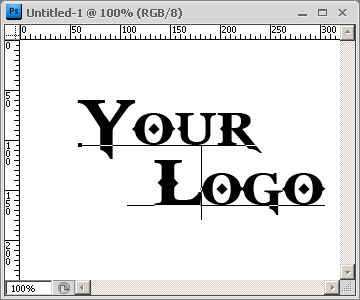
- In the area you want text to appear use the Text tool and create the text you wish to outline.
- Move your mouse over to the Layers panel and click on the text layer to make sure it is the layer selected. Then, execute the combination on Ctrl-Click, Click being the left mouse button.
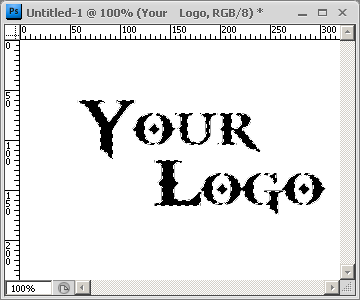
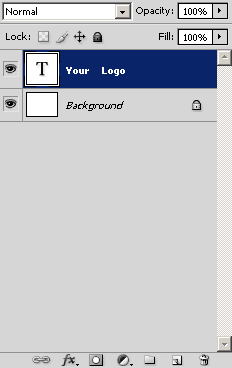 This will select all of your text.
- Move your mouse to the menu and choose Select > Modify > Expand
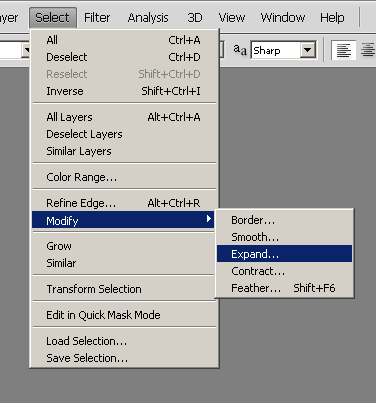
- This will bring up the dialog to specify how many pixels to expand the selection. For this example, we’ll specify 2 pixels

- From the Toolbar, choose the Paint Bucket tool and select a foreground colour. For this example, I chose red.
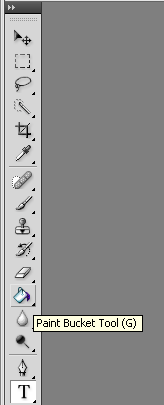
- This next step is important to understand. Up to this point, it was possible to resize the text. Clicking the area selected to fill-in with the chosen outline colour, you will be prompted to convert the text to a rasterized layer. This means the text will no longer be text and as such can not be edited.
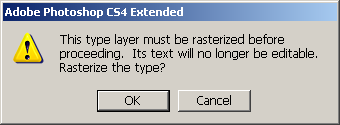 Click OK to proceed.
 - Using the Paint Bucket tool, fill-in the gaps between the black and the expanded selections. For letters like R and O, don’t forget to fill-in inner areas.
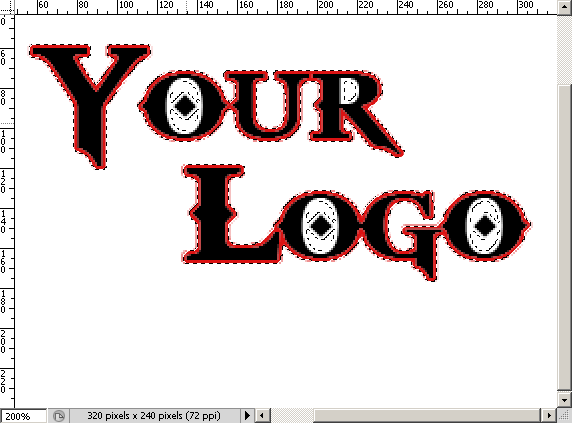
- Save your work.
GIMP solution
- In the area you want text to appear use the Text tool and create the text you wish to outline.
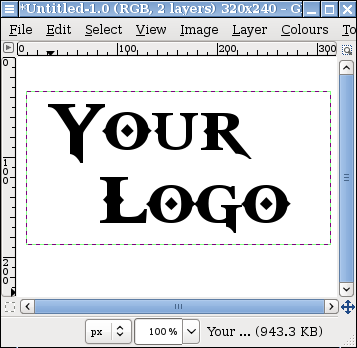
- Once your text is complete, return to the Toolbox panel and click on Path from Text.

- Move your mouse pointer to the Select menu and choose From path
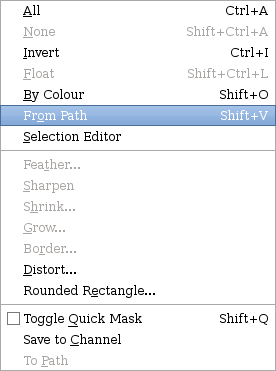 This will select your text.
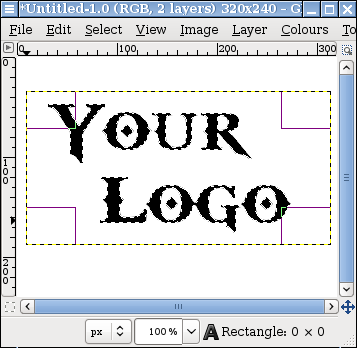
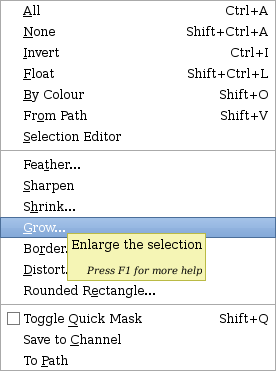
- Click on the Select menu once more and chose Grow…
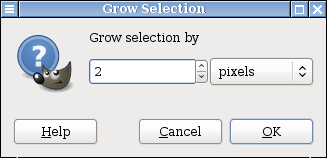
- For this example, grow the selection by 2 pixels. Click OK.
- From the Toolbox menu, choose the Bucket Fill Tool and a foreground colour. For this example, red was chosen.

- Using the Paint Bucket tool, fill-in the gaps between the black and the expanded selections. For letters like R and O, don’t forget to fill-in inner areas.
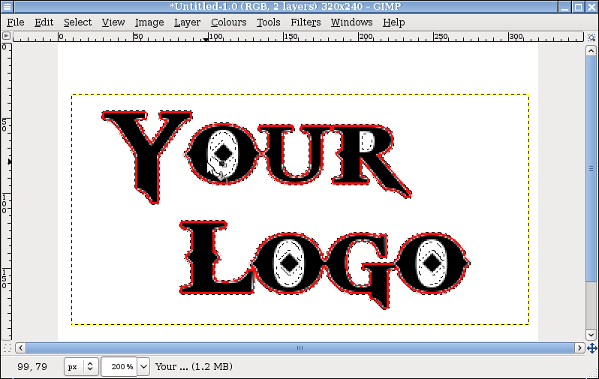
- Save your work.